How to Overclock an Intel CPU with XTU (Without BIOS): Step-by-Step Beginner's Guide
The Intel Extreme Tuning Utility is a set of tools to tweak, test and monitor your system
If you want to overclock a Intel CPU without the BIOS, Intel's Extreme Tuning Utility (XTU for short) is a simple, easy to use desktop application that's worth considering. XTU allows both complete hardware beginners and advanced enthusiasts alike to easily overclock, monitor and stress-test your Intel processor and overall system.
XTU is a fairly comprehensive set of tools, and you can overclock an Intel CPU with a few clicks of a button by adjusting its core clock speed, voltage, boost clock, and more. XTU also comes with built-in CPU and memory testing to check stability and CPU temperatures. For AMD processors, the equivalent to XTU is called Ryzen Master for anyone wondering.
Related: Recommended Gaming CPUs
To overclock you'll be needing an Intel processor that has a “k” on the end of the model number (eg i5-9600K, i7-9700K, or i9-9900K), however it is actually possible to overclock non-k CPUs (though it’s harder, less effective and not recommended). You can also overclock Intel HD processors (integrated graphics) if you so wish. See our introduction to CPU overclocking for more basics and tips to know before overclocking.
XTU has a simple interface and can work quite well on some systems, making it a more beginner-friendly way of overclocking an Intel processor without having to go into the motherboard BIOS. It also has a handy integration with the HWBot overclocking community, which can make overclocking easier by importing other user’s successful settings which we’ll explain in a bit.
Overclocking with Intel's XTU program is not without its downsides though, and on some hardware configurations XTU might not be able to draw on all the system information it needs to let you overclock successfully. But it’s worth a shot, especially if you want to avoid the added complexity of overclocking a CPU in the BIOS. Let’s get straight into the basic steps to overclock using XTU as a first-timer.
Step 1: Run Base Benchmark
Download and install Intel XTU from Intel’s site, close all background programs, and load her up. Click on the “Benchmarks” tab, then click on “Run”. It should take under 2 minutes on default settings (shorter once you’ve overclocked). When the benchmark is done you’ll see some stats and get an overall score mark.
You can compare your baseline score now to your post-overclock score later to get a general sense of how well your overclock worked overall, and there’s also a way to use your score to source better overclocking settings to use for your particular system (we’ll explain in a bit).
Step 2: Remove Power Limits
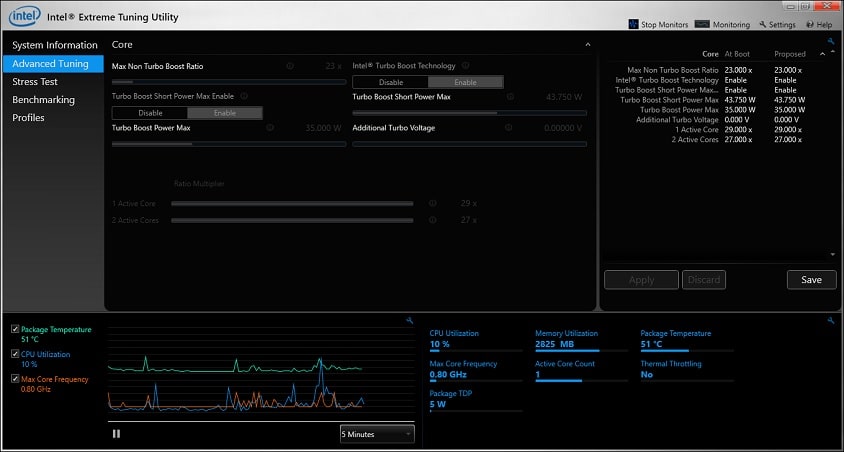
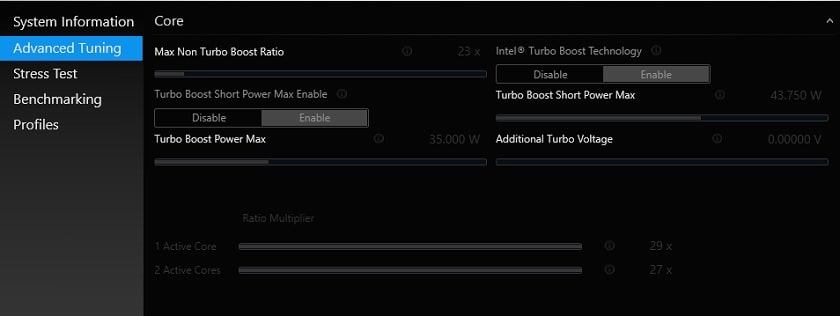
Click on the “Advanced Tuning” tab, which is the screen where you can tinker with all the CPU settings. There are a few settings you want to change before pushing your CPU. First of all, look for the “Turbo Boost Power Max” slider and make sure it’s all the way up (as in, the slider is all the way to the right).
Depending on your PC, you may also have a “Turbo Boost Short Power Max” option which can be enabled or disabled. Make sure it’s enabled. Then, slide the “Processor Current Limit” all the way up. Leave all your other settings as they are for now. Having these three settings set to maximum will ensure your CPU can draw the maximum amount of power that it needs from your power supply so that it will never be throttled. Don’t worry; doing this is safe as there are fail-safes in place that will protect your CPU. The worst that can happen is that your power consumption will go up.
Where all the magic happens. For newbies, as you can see, overclocking isn't rocket science
Step 3: Increase the Multipliers
It’s finally the moment of truth; increasing the CPU multiplier, which is the first step in actually pushing your CPU past its current speed. Make sure your “Reference Clock” is set to 100MHz, which is the amount of increased speed you’ll get for each increase in the multiplier. Look at the “Multipliers” setting, which will show each of your CPU cores. Increase the multiplier by 1x for each core, then go back to the “Benchmark” tab and run it again.
If your system doesn’t crash when doing this, go to the “Profiles” tab, and save a new profile. Repeat this process of increasing the multiplier for each core by 1x, running the benchmark, and saving the profile, until your system crashes. At that point, reboot and load the last profile you saved. Now it’s time to alter the voltage which will further increase speeds.
Step 4: Increase the Voltage
You have a couple of different ways to increase the CPU voltage. You can increase the voltage offset, which only applies more voltage when needed. Or you can alter the core voltage (VCore) which will make it a constant change in power. Either can work, and increasing the voltage offset has the benefit that your CPU won’t continually run at that higher voltage (which means more potential heat). However, here we will change the VCore, as it will be easier to know what your CPU voltage is.
Increase the core voltage by 0.1, and then apply the multiplier settings from step 3 that previously crashed. Then run the XTU benchmark, and if it doesn’t crash that means the added power has worked to stabilize things. If not, then keep repeating this process of increasing the VCore by 0.1 and tweaking the multipliers until the benchmark works just fine. As you do these benchmarks, keep an eye on the CPU temperature which XTU shows on-screen. Ideally you probably want to keep your CPU under 80 degrees Celsius whilst its under load to be safe. Applying higher voltages may have you go over this temp, which is a sign you may want to either decrease your overclock by 100MHz or lower the voltage again.
Step 5: Source Pro Settings
Once you’ve run the benchmark without issues at a faster speed and/or voltage, you’ll want to upload your score to HWBot, a pro overclocking site linked to XTU. Even if you don’t care about competitive overclocking, which is what HWBot is all about, there is a lot of use in doing this. When you upload your score, you’ll see a comparison graph comparing your overclock with other people’s overclock using similar hardware in the HWBot community. This allows you to get a sense of how much further you can push your CPU safely.
If you click on higher points in the graph you can see the speeds, temperatures and settings of that particular overclock that scored higher than your system, and you even import those exact settings straight into XTU to test for your own setup. This can be a very effective way to improve your overclocking results, or at least get a nice base of settings to then tinker with further (which gives you a nice head start on your overclock and keeps things simple by avoiding spending a long time tweaking settings from scratch). Of course, not all systems and situations are the exact same, so any settings you import might not work as well with your particular setup, but it’s worth a try.
Step 6: Consider Cache Ratio & Reference Clock
You also have the option of overclocking your cache ratio and/or reference clock if you want to push your overclock even further once your multiplier/voltage can’t safely go any higher, but in general I wouldn’t recommend it and as a first-timer I’d just stick to overclocking the multipliers and/or the voltages. But if you do want to tweak these settings, make sure to only increase the CPU cache ratio by 1x at a time, checking for stability in-between each increment. If it crashes you could also test for stability by adding a small increase to the Cache Voltage Offset to see if that stabilizes your cache ratio increase.
Same thing for the reference clock; be careful and go slow with small steps of 1MHz at a time and then run your tests and do your checks. Increasing the reference clock can have a high chance of destabilizing things. Also, different Intel chips will have different leeway on the reference clock, so if you do want to go down that route I would do more research on reference clock overclocking. Covering it in more detail here is beyond the scope of this introductory step by step guide, but like I said I would not recommend it to everyone, especially if you’re new. If you're interested though, look into it for your particular CPU.
Trusted VPN
VPN software can be important in this day and age, especially if you do lots of online banking and/or use public WiFi whilst travelling. Having a VPN adds an extra layer of security to your PC or laptop when online to help protect your data, passwords, financials, etc from hackers or malicious programs. It can also let you access region-locked content (eg US Netflix from overseas). For gamers their can be even more benefits to using a VPN.
Because they're so popular these days, there are countless VPN providers, and it can be confusing to pick one. If you want my 2 cents, after a lot of research I decided on NordVPN 'cause it's one of the fastest, most reliable VPNs for both gaming and general use, with a lot of credible reviews out there backing that up. They also quite often run very solid deals.
Popular Articles (see all)
Search the Site
About the Author (2025 Update)
I'm an indie game developer currently very deep in development on my first public release, a highly-immersive VR spy shooter set in a realistic near-future releasing on Steam when it's ready. The game is partly inspired by some of my favorites of all time including Perfect Dark, MGS1 and 2, HL2, Splinter Cell, KOTOR, and Deus Ex (also movies like SW1-6, The Matrix, Bladerunner, and 5th Element).
Researching, writing, and periodically updating this site helps a little with self-funding the game as I earn a few dollars here and there from Amazon's affiliate program (if you click an Amazon link on this site and buy something, I get a tiny cut of the total sale, at no extra cost to you).
Hope the site helps save you money or frustration when building a PC, and if you want to support the countless hours gone into creating and fine-tuning the many guides and tutorials on the site, besides using my Amazon links if purchasing something, sharing an article on socials or Reddit does help and is much appreciated.

|
ABOUT BGC Helping you build better systems for less, here at Build-Gaming-Computers.com you'll find simultaneously comprehensive yet simplified guides and tutorials, including continuously updated PC build examples. Always as objective and unbiased as possible with product recommendations, and with little to no ads. |
Intro | Best PC Builds | Best Cases | PC Assembly | Prebuilt PCs | PSU Guide | VR Headsets | Privacy | Contact | Donate | Archives

Copyright (C) 2006-2025 Build-Gaming-Computers dot com All Rights Reserved
As an Amazon Associate we earn from qualifying purchases
For the Love of Gaming + Flawless Frame Rates